 on the Communications menu to expand it.
 . A new window opens displaying the message's details and editable fields. Use this page to view additional details for the message or to customize a standard message.
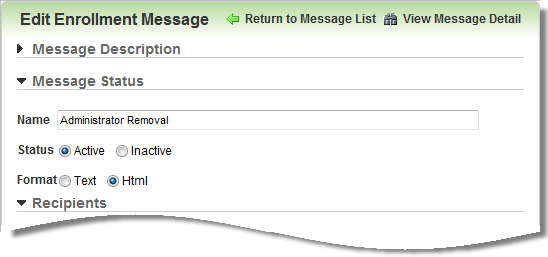
You can modify details of messages in the current LearnCenter. Initially, the messages in your LearnCenter use the default message set up in the root LearnCenter. This can be either the default root LearnCenter message that came with LearnCenter, or the customized message you or another Admin set up in the root LearnCenter. You can edit these messages on a per-LearnCenter basis. On the ControlPanel:
on the Communications menu to expand it.. A new window opens displaying the message's details and editable fields. Use this page to view additional details for the message or to customize a standard message.

|
The format setting for the message is inherited by child sub LearnCenters. If the format you select here is different from the current LearnCenter’s parent LearnCenter, a restore action icon becomes available (
This enables you to restore the message back to its default setting if needed. |
|
|
Select the To check box for approval messages if you want the message to be sent to the recipients without also having to select the approved Users as recipients. This is so you can notify recipients like the enrollment administrator without also sending a message to the approve Users. Select the Copy To check box to send a copy of the message (which is also sent to recipients) to the enrollment admin. This message has the wording “This notification is copied to you” inserted in the message body. This message is configurable. Contact Customer Support through My Oracle Support if you want to change this message. |
|
|
Currently, LearnCenter does not support HTML codes for message body text. |

|
Inserted and removed attachments are not saved with the message until you click Save Message at the bottom of the page. |
|
|
To remove attachments, click the check box next to the attachment and then click Delete Attachments. |

|
See Communication Message Automation for additional information. |

Copyright © 2010-2015, Oracle and/or its affiliates. All rights reserved.
 ) on the Messages page when you rest your cursor on this message.
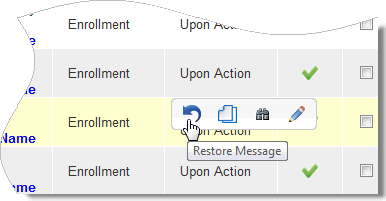
 Search for the Users you want to include or remove from the message recipient list.
 Related Topics